Installing a local AMIDST repository
Here we explain how to install a local AMIDST repository and how to add them in a maven project with Java 8 or higher. Alternatively, you can follow this video tutorial. In summary, we will download the source and use the appropriate maven commands for installing it.
First, you can download the source code from the github repository using the following command:
$ git clone https://github.com/amidst/toolbox.git
Depending on your internet connection, the process may take several minutes. Once the it has finished, enter into the downloaded folder:
$ cd toolbox
Now, we should install the AMIDST artifact in our local Maven repository (this repository is automatically created when installing Maven). For that, type the following command:
$ mvn clean install -Dmaven.test.skip=true
[INFO] Reactor Summary:
[INFO]
[INFO] AmidstToolbox ...................................... SUCCESS [  0.348 s]
[INFO] core ............................................... SUCCESS [ 12.300 s]
[INFO] core-dynamic ....................................... SUCCESS [  5.352 s]
[INFO] huginlink .......................................... SUCCESS [  3.255 s]
[INFO] standardmodels ..................................... SUCCESS [  3.128 s]
[INFO] examples ........................................... SUCCESS [  4.530 s]
[INFO] moalink ............................................ SUCCESS [  3.944 s]
[INFO] wekalink ........................................... SUCCESS [  2.388 s]
[INFO] ------------------------------------------------------------------------
[INFO] BUILD SUCCESS
[INFO] ------------------------------------------------------------------------
[INFO] Total time: 35.681 s
[INFO] Finished at: 2016-05-10T15:58:14+02:00
[INFO] Final Memory: 63M/539M
[INFO] ------------------------------------------------------------------------
$ ls ~/.m2/repository/eu/amidst/
And you will find a folder for each module:
AmidstToolbox    core-dynamic    huginlink   standardmodels
core        examples    moalink     wekalink
Now we will see how can we use this local repository from a maven project (using IntelliJ IDEA). In this example, we will use a project containing only one class, though the procedure here explain could be used in any other maven project. You can check this link for getting more information about how to create a new mavenproject.
For using the AMIDST Toolbox, the pom.xlm file will be modified. First, in the Project view (located on the left) select the file pom.xml of your project and open it:
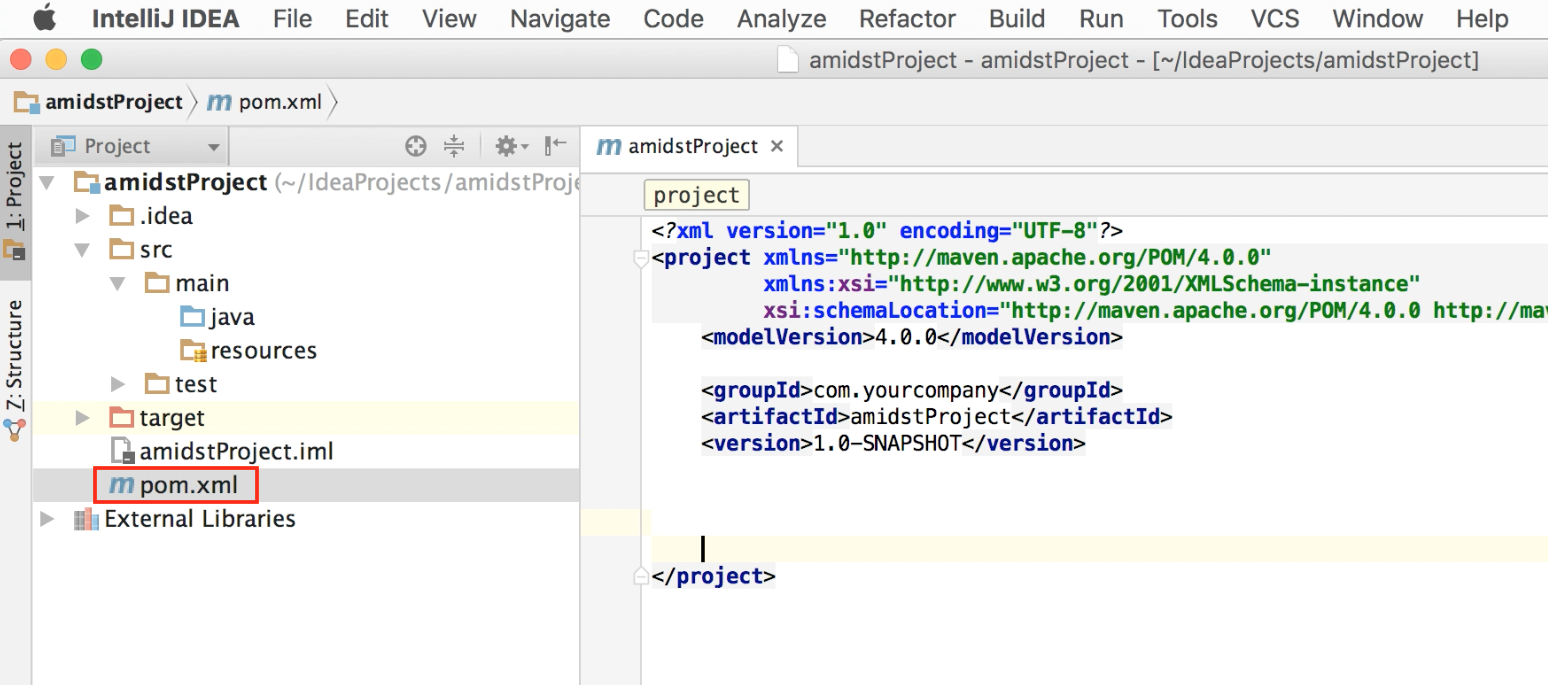
Initial view of an empty maven project in IntelliJ IDEA
In the file pom.xml, add the dependencies to the modules in AMIDST you want to use. For each module, add an element <dependency>…</dependency> inside the labels <dependencies></dependencies>. For each one, we have to indicate the following information:
- groupId is an identifier of the project’s module. In this case it should containt the value “eu.amidst”.
- artifactIdis the name of the module we want to use. More precisely, it is the name of the jar file containing such module. You can see the list of AMIDST modules here.
- version is the identifier of AMIDST Toolbox release. You can see here the list of all versions available.
- scope allows you to only include dependencies appropriate for the current stage of the build. We will set this to “compile”.
For example, for using the core-dynamicmodule, include the following code:
<dependencies>
<!-- Load any of the modules from AMIDST Toolbox -->
<dependency>
<groupId>eu.amidst</groupId>
<artifactId>core-dynamic</artifactId>
<version> 0.7.2 </version>
<scope>compile</scope>
</dependency>

<!-- ... -->
</dependencies>
Note that for using another module, simply change the value of the element artifactId(i.e. the content between the tags <artifactId> and <artifactId>). Now you can check in the Maven Projects panel that all the dependencies have been loaded:
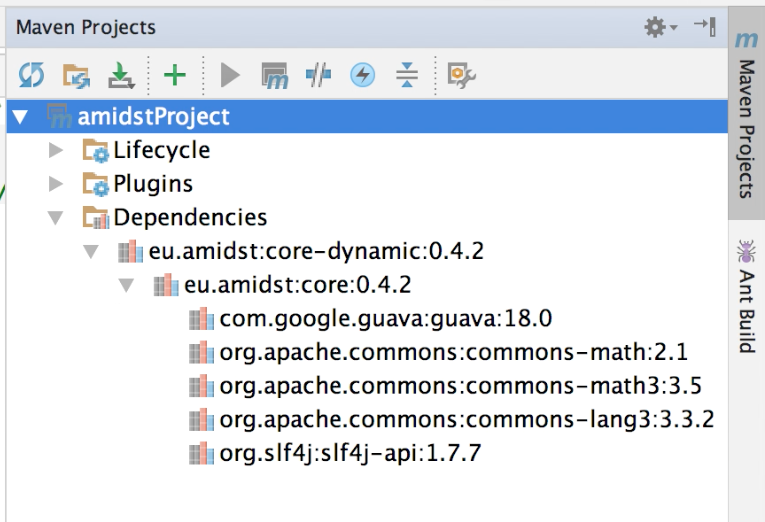
Loaded dependencies
Note that the core-dynamic module depends on corethat has been loaded as well. We recomend you to download the sources and the javadoc as shown below.
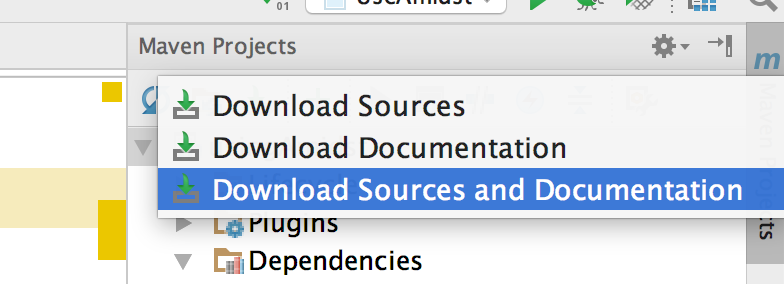
Downloading JavaDoc and source code
Finally, for testing purposes, we can run the following code:
import eu.amidst.dynamic.models.DynamicBayesianNetwork;
import eu.amidst.dynamic.utils.DynamicBayesianNetworkGenerator;

public class TestingAmidst {
 public static void main(String[] args) throws WrongConfigurationException {
  DynamicBayesianNetworkGenerator.setNumberOfContinuousVars(2);
  DynamicBayesianNetworkGenerator.setNumberOfDiscreteVars(5);
  DynamicBayesianNetworkGenerator.setNumberOfStates(3);

  DynamicBayesianNetwork extendedDBN =
  DynamicBayesianNetworkGenerator.generateDynamicBayesianNetwork();

  System.out.println(extendedDBN.toString());


 }

}
If everything goes right, the following output will be generated:
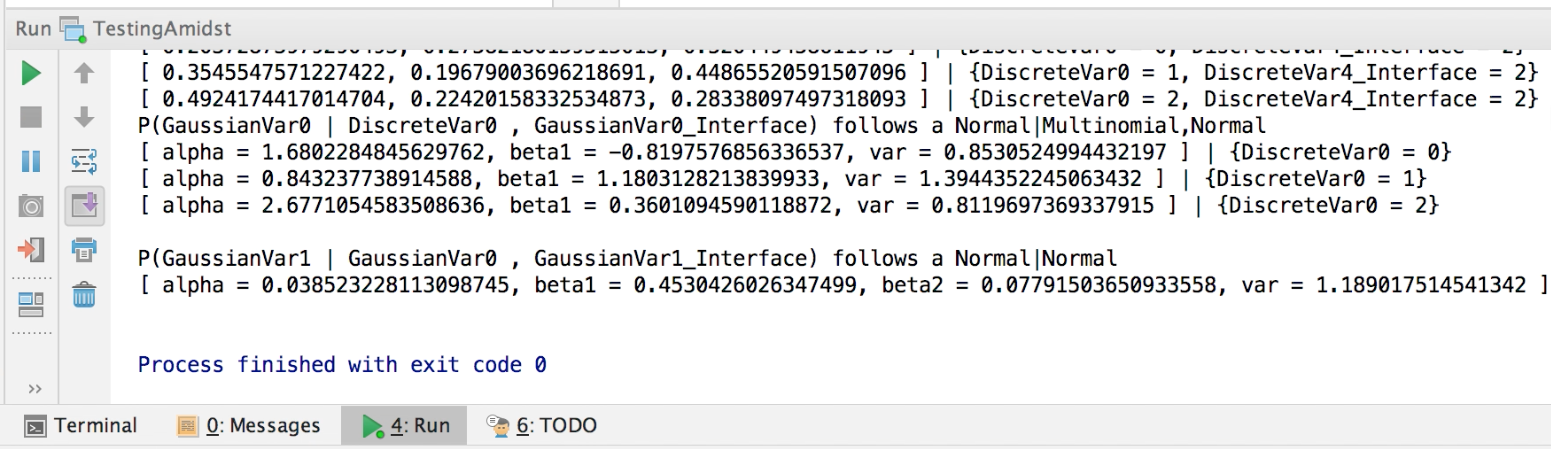
Output generated when running the example code